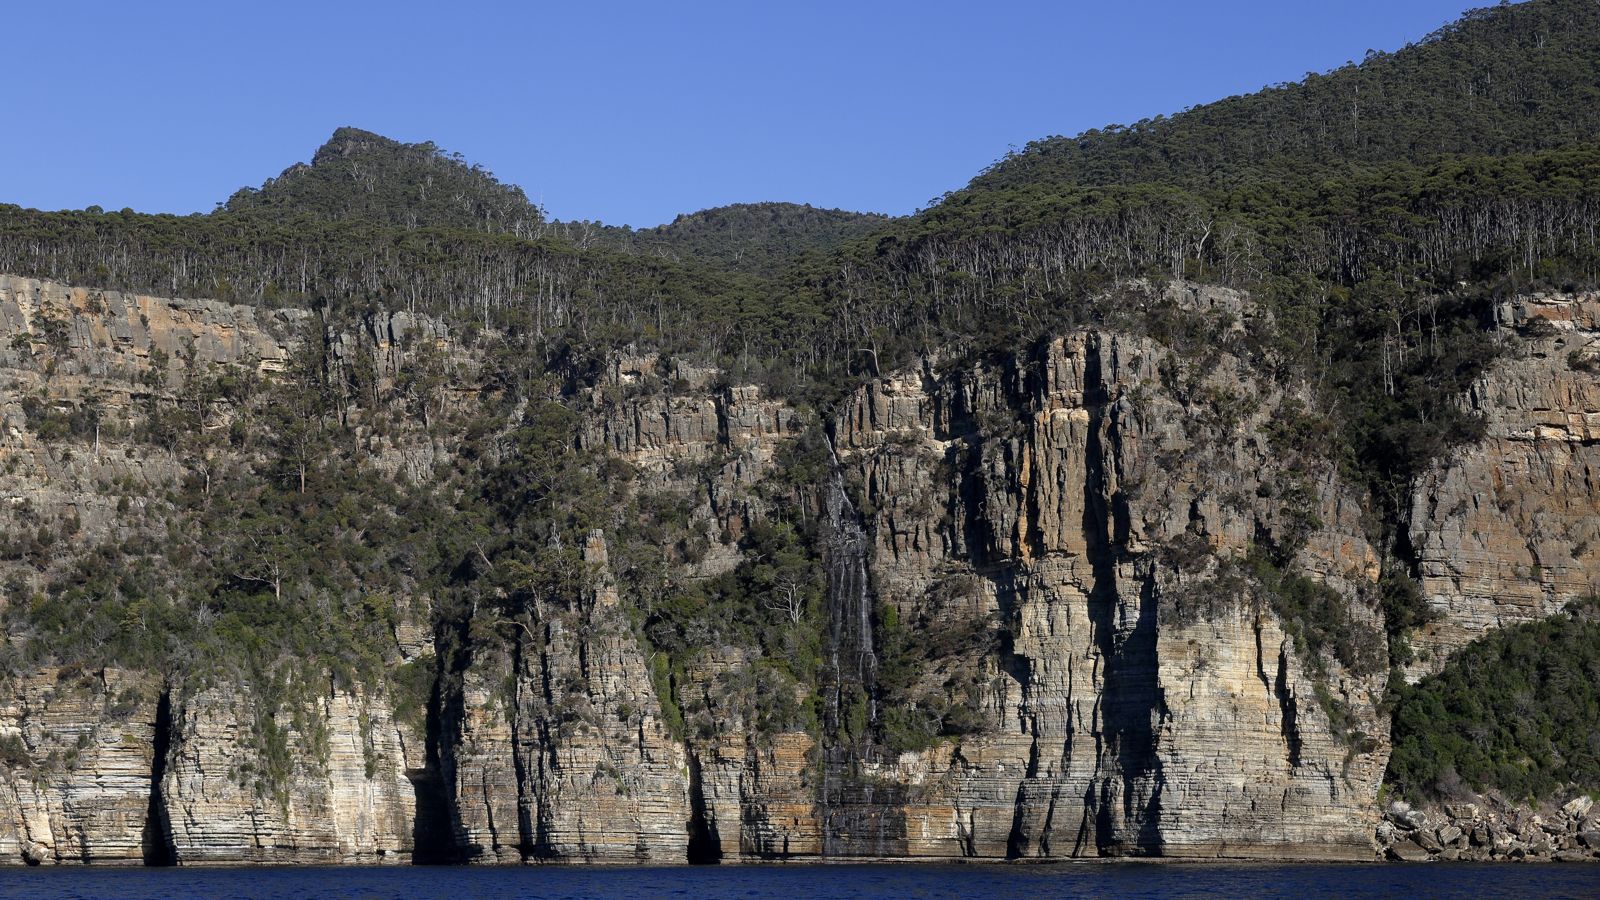
Waterfall Bay Caves, centred on the massive Cathedral Cave system on the Tasman Peninsula, is Australia's largest sea cave complex and an extraordinary snorkelling and dive location. Accessed by boat from Eaglehawk Neck's Doo Town wharf, the site features towering vertical cliffs that plunge into deep teal water, a maze of interconnected sea caves, tunnels, arches, and the spectacular Cathedral Arch — a massive natural rock archway penetrating through Waterfall Bluff. Sunlight shafts into the caverns illuminating colourful walls draped in sponges, sea squirts, and bryozoans normally found at greater depths. The sheer scale of the cave system, with at least a dozen linked passages including Skull Cave, the Catacombs, and Revelation Bend, makes this a world-class underwater playground in Tasmania's dramatic coastline.
Waterfall Bay Caves
Fair. Experienced snorkellers only.
Showing last known conditions
Last evaluated
 © Ed Dunens
DANGER: Explicit Risks Present
Waterfall Bay Caves has hazards marked as danger. Entering the water here means you may face serious risks to your personal safety.
- Overhead cave environment danger
Multiple interconnected sea caves and tunnels with limited direct surface access. Entrapment risk, silt-out potential, and disorientation hazard for inexperienced snorkellers.
- Dark enclosed cave tunnels danger
Multiple tunnels including Revelation Bend and narrow passages require lights; zero natural light in parts of Skull Cave and Catacombs.
- Narrow passage restrictions danger
Some tunnels are very narrow and low-ceilinged, requiring careful finning and good buoyancy control to avoid disorientation or entrapment.
- Low visibility in caves danger
Inside the caves and tunnels, natural light fades to near-total darkness; silt can easily be stirred up reducing visibility to zero.
- Limited exit points danger
The cave system has long narrow passages like Revelation Bend that are very dark and tight. Easy to become lost without an experienced guide.
- Unfenced Cliff Tops danger
The walking track and lookout areas sit directly atop 300-metre cliffs with no guardrails — extreme care needed near the edge.
The spot
Community-maintained
Community contribution: submitted by Daniel
Know before you go
Logged by the community, confirmed by mods
High risk: Overhead cave environment
Multiple interconnected sea caves and tunnels with limited direct surface access. Entrapment risk, silt-out potential, and disorientation hazard for inexperienced snorkellers.
High risk: Dark enclosed cave tunnels
Multiple tunnels including Revelation Bend and narrow passages require lights; zero natural light in parts of Skull Cave and Catacombs.
High risk: Narrow passage restrictions
Some tunnels are very narrow and low-ceilinged, requiring careful finning and good buoyancy control to avoid disorientation or entrapment.
High risk: Low visibility in caves
Inside the caves and tunnels, natural light fades to near-total darkness; silt can easily be stirred up reducing visibility to zero.
High risk: Limited exit points
The cave system has long narrow passages like Revelation Bend that are very dark and tight. Easy to become lost without an experienced guide.
High risk: Unfenced Cliff Tops
The walking track and lookout areas sit directly atop 300-metre cliffs with no guardrails — extreme care needed near the edge.
Moderate risk: Boat traffic
Access is via a narrow inlet where dive boats tie to wall ropes. Boats entering and exiting the cove create overhead hazards in the confined space.
Moderate risk: Strong surge and currents
Swell can create strong surge through cave tunnels and around the bluff. Requires calm sea conditions for safe entry and exit.
Moderate risk: Cold water temperature
Water temperature averages 17°C in summer (February) and drops significantly in winter, increasing risk of hypothermia.
Moderate risk: Swell and surge
The cave system can experience surge and reduced visibility during rough weather; very calm conditions needed for outer caves.
Moderate risk: Cave system navigation
Extensive maze of interconnected tunnels and chambers with multiple exits; very easy to become disoriented without a guide or cave-diving certification.
Moderate risk: Weather-dependent boat access
The site is in an exposed location on the Roaring Forties; swells and wind can make entry through the arch dangerous or impossible.
Moderate risk: Strong surge and swell at cave entrances
Surge pushes into cave mouths, especially around Cathedral Arch and Skull Cave. Only diveable in calm conditions; surge can slam snorkelers against rocks.
Moderate risk: Exposed Swell & Surge
The bay opens to the Tasman Sea and can receive large southerly swells and surge against the rocky shoreline.
Moderate risk: Surge around cave entrances
Ocean swell can create strong surge conditions near cave mouths, pushing snorkelers against rugged dolerite walls.
Low risk: Cold water temperatures
Water temperature averages 17°C even in summer (February). Prolonged exposure risks hypothermia without adequate thermal protection.
Low risk: Rocky boulder seafloor
The bottom is covered in large boulders at ~22 m depth, presenting entanglement and footing hazards when navigating cave entrances.
Low risk: Restricted passages
Narrow tunnels such as Revelation Bend require careful finning and can be tight for larger divers, with low ceiling sections.
Low risk: Seasonal Waterfall Flow
The waterfall is often reduced to a trickle or dry stain in summer heat — best flow after heavy rain.
Low risk: Slippery wet rocks
Rock platforms at cave entrances are often wet and coated with algae, making footing treacherous when entering or exiting the water.
Low risk: Sudden depth changes
The seafloor drops off rapidly from shallow rocky ledges into deeper water inside the caves, requiring good buoyancy control.
Low risk: Strong Ocean Swell
Exposed to Tasman Sea swell rolling into the bay, conditions can change rapidly especially after heavy weather.
Low risk: Rough Cliff Access
Surrounding terrain features steep, rocky cliff edges and boulder gardens that can be hazardous when entering or exiting the water.
Wildlife Guide
No wildlife notes for this spot yet.
Gallery
4 photos from the community
Getting in
Drive ~1 hour south-east from Hobart to Eaglehawk Neck on the Tasman Peninsula. From Eaglehawk Neck, continue a few minutes to Doo Town where the boat ramp/wharf is located. From the wharf, head south into the Tasman Sea for less than 5 km to reach Waterfall Bay. The Cathedral Caves inlet is just south of Waterfall Bluff. GPS: S43° 03' 49.4" E147° 57' 17.3" (WGS84). Alternatively, snorkel tours operate from Eaglehawk Neck.
Limited parking available near the Doo Town boat ramp/wharf area.
No entry fee for the waterway. Snorkel/dive tours with Eaglehawk Dive Centre charge tour rates.
Spot Map
Community
Trust
Is this spot real, accurate, still loved?
Spots near Tasmania

No nearby spots yet.
Quick verify
One tap helps the community keep this spot honest.
About this data
- Conditions last evaluated
- Spot data last updated
- Data sources
- Open-Meteo (marine & weather conditions), tide predictions via UTide, community contributors (descriptions, hazards, marine life).
- License
- Spot content licensed under CC BY-SA 4.0. How's the Spot is open source.